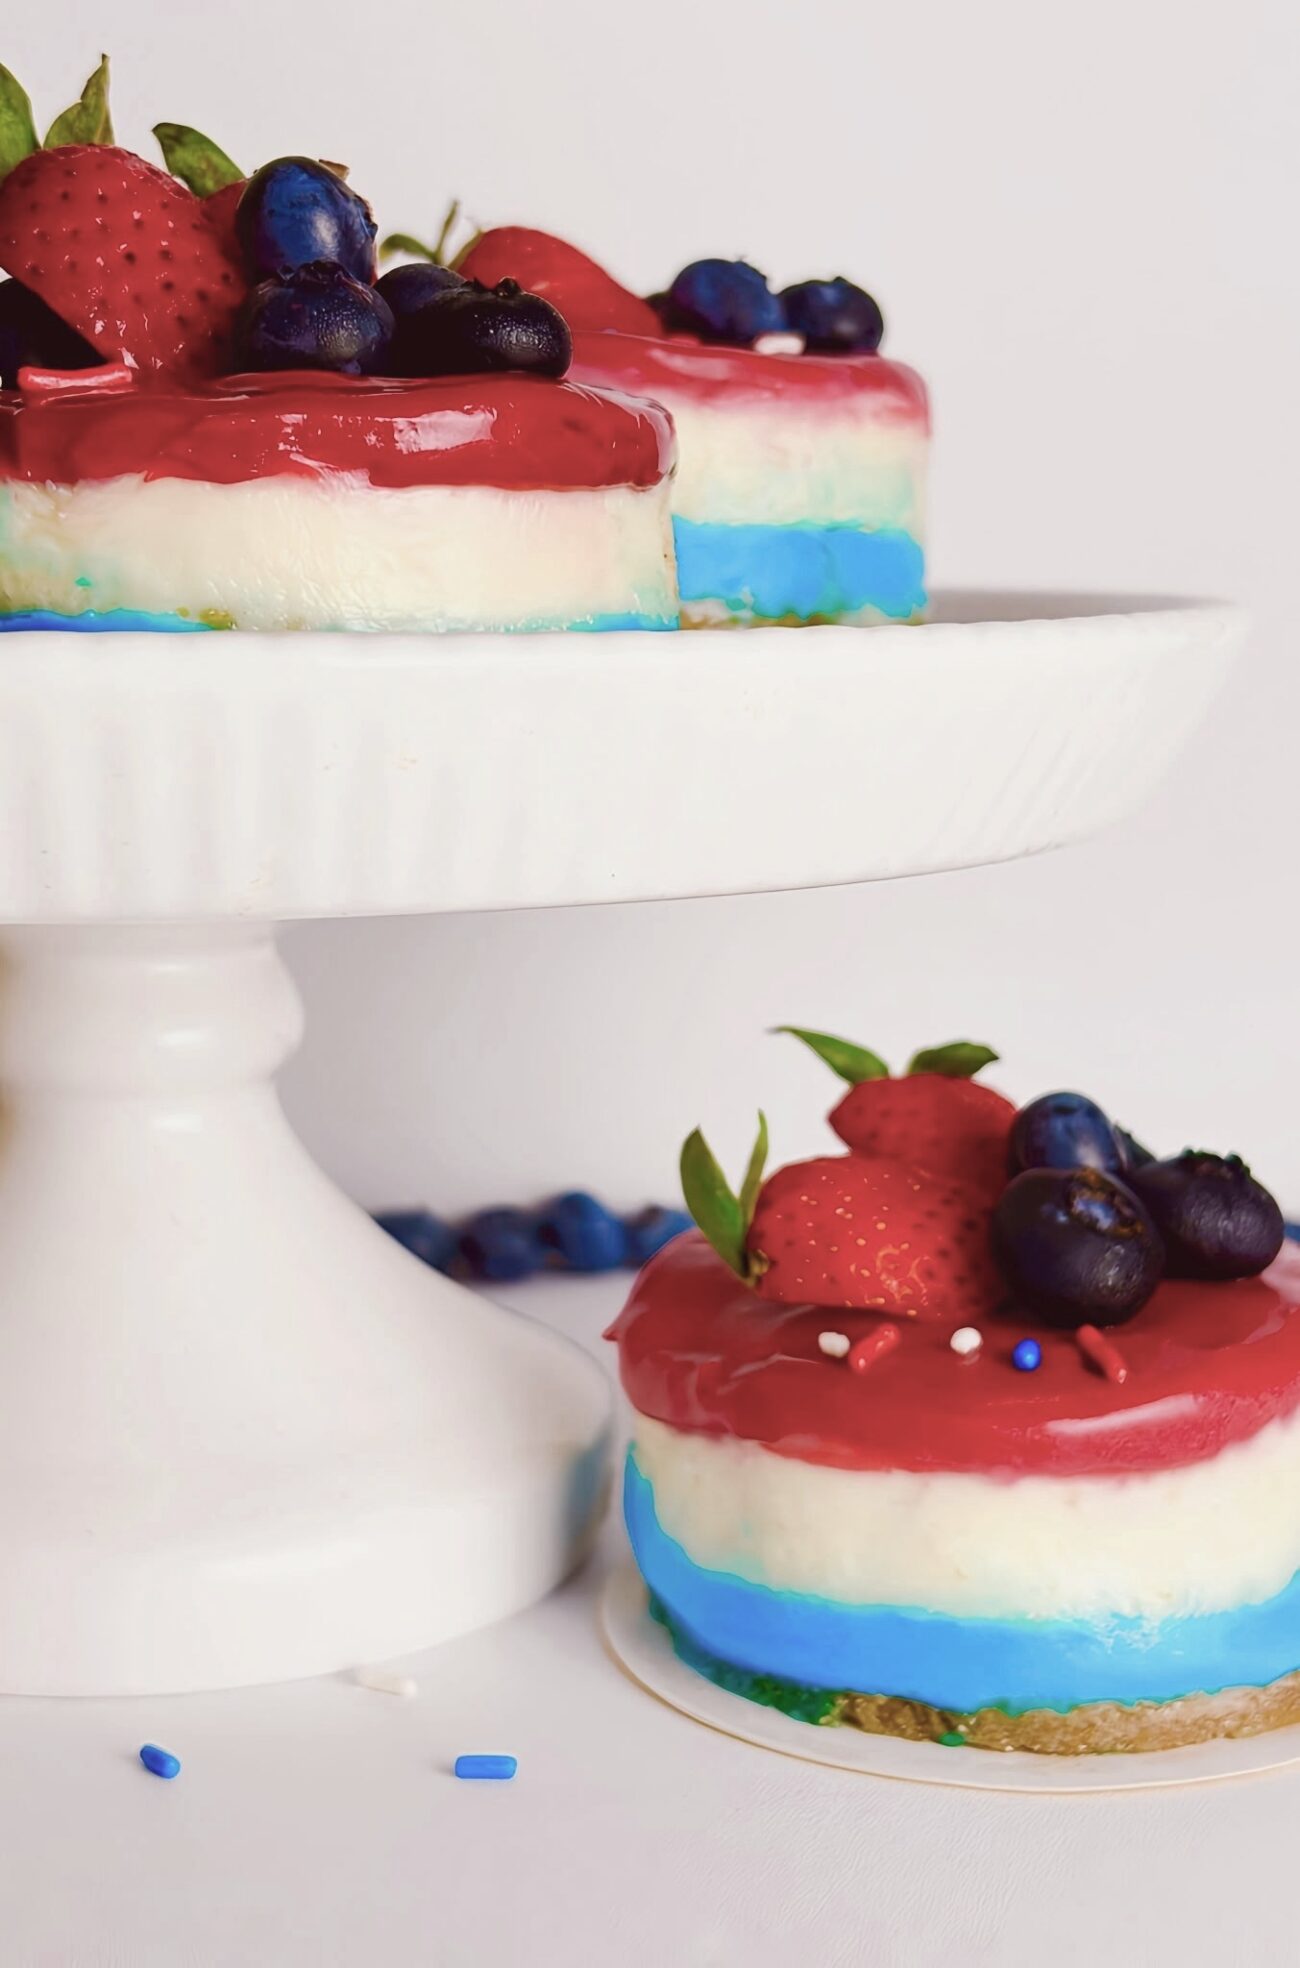
Enjoy these vibrant red, white, and blue Patriotic Mini Cheesecakes! This festive dessert is the perfect treat for any holiday, celebration, or summer gathering. These mini cheesecakes are easy to make, simple to serve, and perfect for sharing with family and friends. With a buttery graham cracker crust and a rich, smooth, and creamy no bake cheesecake filling, these colorful treats are as delicious as they are beautiful. They’re guaranteed to be a crowd favorite and are absolutely irresistible!
- 1 cup graham cracker crumbs
- 2 Tbsp granulated sugar
- 4 Tbsp butter, melted
CRUST INSTRUCTIONS:
Melt the butter in a microwave safe bowl for about 30 seconds.
Place the graham crackers in a food processor or blender and pulse until they resemble fine sand.
Alternatively, place the graham crackers in a gallon size zip top bag and crush them with a rolling pin until finely crushed.
In a large mixing bowl, combine the graham cracker crumbs and sugar. Stir in the melted butter until the crumbs are evenly moistened.
Evenly divide the crumb mixture among the mini cheesecake pans. Firmly press the mixture into the bottom of each pan to form the crust.
Place the pans in the freezer for 10 minutes.
CHEESECAKE FILLING:
- 1 (8-ounce) package cream cheese, softened
- 1 cup powdered sugar, sifted
- 1 tsp vanilla extract
- 1 cup heavy whipping cream
- Red gel food coloring
- Blue gel food coloring
NO-BAKE CHEESECAKE INSTRUCTIONS:
Using an electric or stand mixer, whip the heavy cream in a large mixing bowl until soft peaks form. Start on a low speed to prevent splattering.
In a separate bowl, beat the softened cream cheese, powdered sugar, and vanilla extract for about 1 minute, or until smooth.
Do not overbeat, as the filling may become too thin.
Using a rubber spatula, gently fold the whipped cream into the cream cheese mixture until fully combined.
Divide the cheesecake filling evenly among three bowls.
First bowl: Leave plain (white).
Second bowl: Add 1 drop of red gel food coloring. If needed, add another drop until you achieve your desired shade of red.
Third bowl: Add 1 to 2 drops of blue gel food coloring until you reach your desired shade of blue.
Spoon or pipe the blue cheesecake filling over the prepared crusts. Freeze for 15 to 20 minutes.
Before adding the next layer, gently touch the surface. It should feel slightly firm. Add the white layer and freeze again for 15 to 20 minutes.
Repeat the process with the red layer. Once all the layers have been added, refrigerate the mini cheesecakes for at least 3 to 8 hours, preferably overnight, or until fully set.
Note –
Do not freeze the finished cheesecake mixture before it has set, as this may result in an icy or gritty texture.
Storage: Store leftover mini cheesecakes in an airtight container in the refrigerator for 3 to 4 days.
Freezing: Place the cheesecakes in an airtight container or wrap them well and store them in a heavy duty zip top freezer bag. Freeze for up to 3 months. To serve, thaw overnight in the refrigerator or let them sit at room temperature for a short time before refrigerating until ready to enjoy.
Graham Crackers: Honey graham crackers are the best choice for cheesecake crusts, but you can use your favorite variety.
Butter: Adds richness, helps bind the crust together, and enhances the flavor.
Powdered Sugar: Also known as confectioners’ sugar, it sweetens the filling while creating a smooth, creamy texture without any grittiness.
Cream Cheese: The foundation of every cheesecake. Full fat cream cheese provides the richest flavor and creamiest texture. Make sure it is softened to room temperature before mixing.
I recommend removing the cream cheese from the refrigerator about an hour before preparing the filling. Cold cream cheese can result in a lumpy batter.
Heavy Whipping Cream: Use it cold, straight from the refrigerator. It whips more easily and helps the cheesecake hold its shape once chilled.
Vanilla Extract: Adds warmth and enhances the flavor. Pure vanilla extract is recommended for the best taste.
Red & Blue Gel Food Coloring: Gel food coloring creates vibrant colors without thinning the cheesecake filling. Start with one drop of each color and add more as needed to achieve your desired shades.
Enjoy!